Create a Twitter Bot Using Python and AWS Lambda
This post is part of my AWS Lambda 101 series:
- How To Create Your First Python AWS Lambda Function
- Setting Up a Recurring AWS Lambda Function Using AWS EventBridge
- How To Create an Endpoint for an AWS Lambda Function Using API Gateway
- Passing Credentials to AWS Lambda Using Parameter Store
- Create a Twitter Bot Using Python and AWS Lambda
Over the last several articles in this series, I have shown how to create a Lambda function, store and retrieve secrets, schedule recurring Lambda functions, and more.
In this final article in the series, I will create a simple Twitter bot that tweets each day how many days are left in the year. You can see the final tweets on the @daystonewyear profile.
To create this, we will create our Twitter app to get our API keys, store those in Parameter Store, create our Lambda function, and then schedule it to run each morning.
Let's get started!
Setting Up Our Twitter Keys
Before we can create our Twitter bot, we need to get our API keys and add them to our Parameter Store so that the bot can use them.
Creating Our Twitter App
First, make sure you have a Twitter account that you will tweet to. Then, go to Twitter Developers Portal and sign in to your Twitter account. If you haven't already, you will need to accept the developer terms & conditions.
Once inside the developer portal, click the button to create a new project.

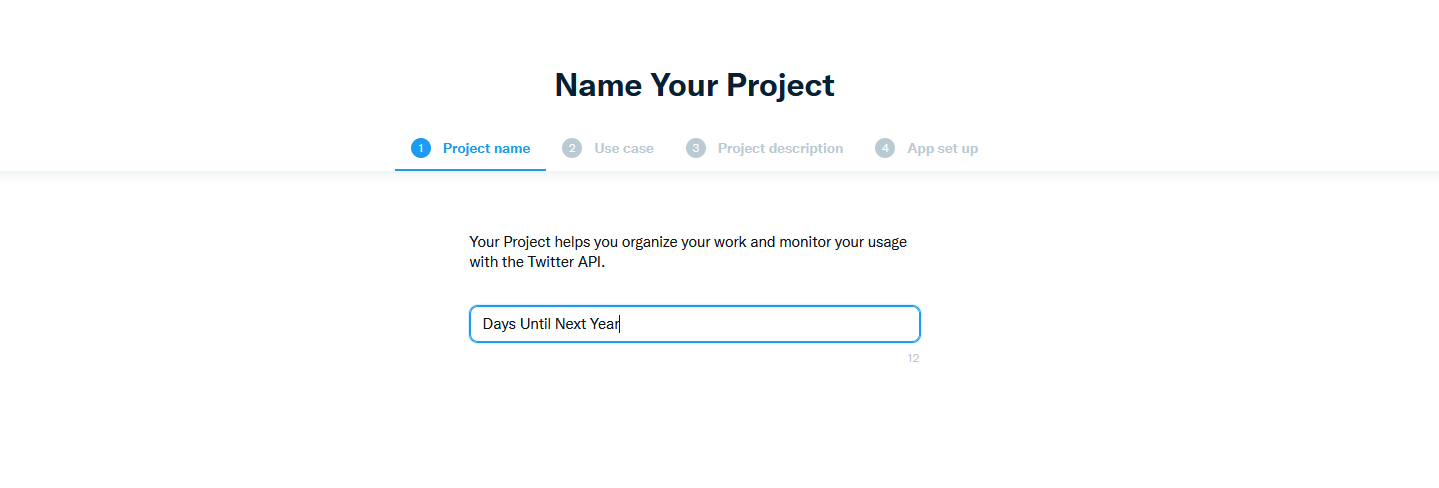
On the next screen, name your project.
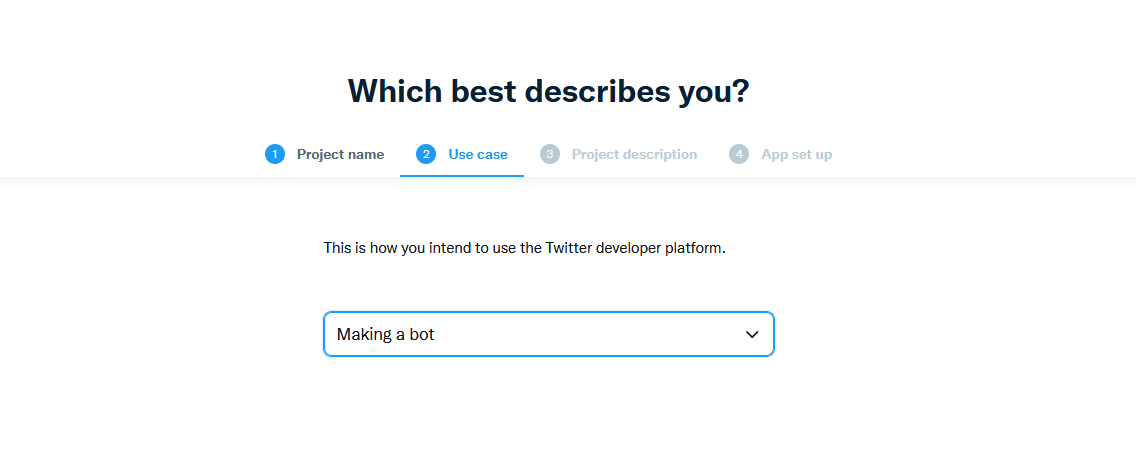
On the next screen, select a use case for the project. For this, you can choose "Making a bot."
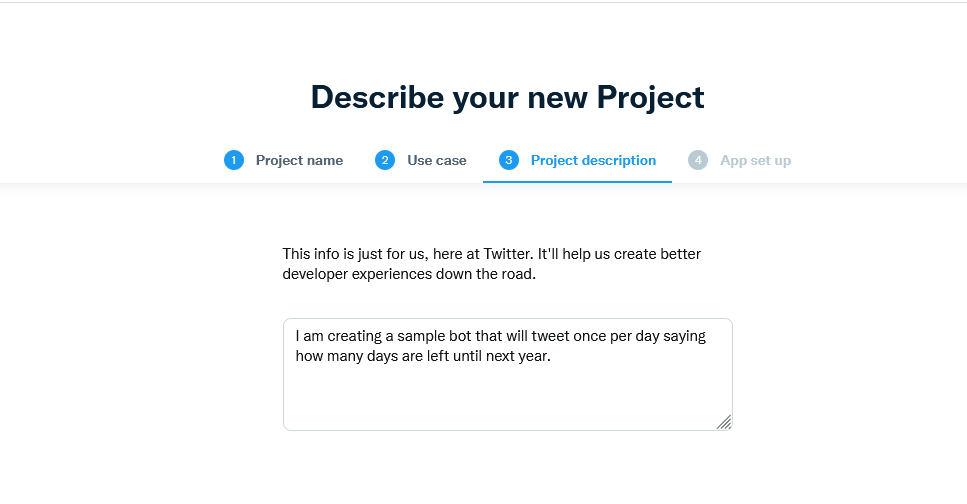
On the third screen, enter a description of your project.
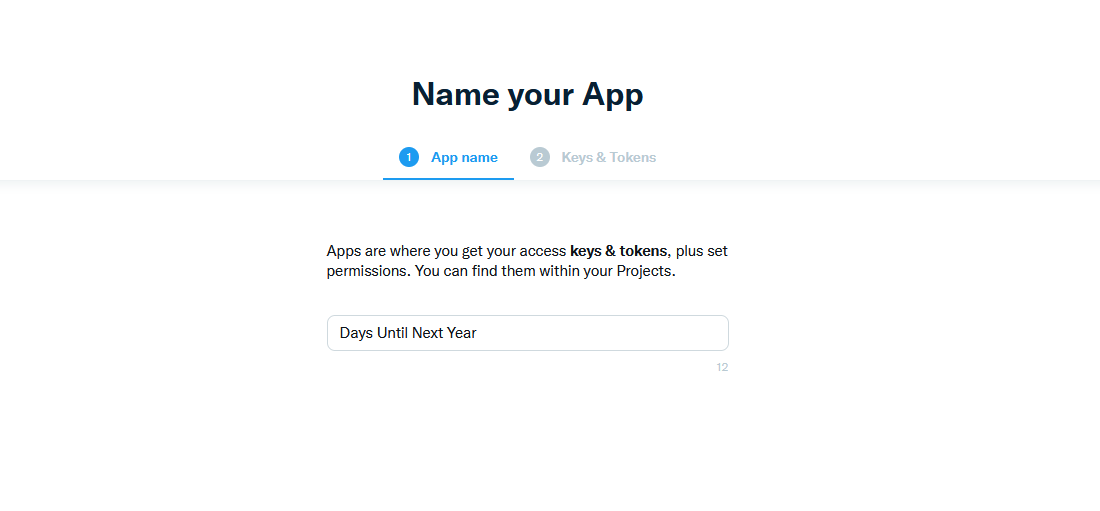
Once you click to go to the next screen, the developer portal will create your project and take you to the app creation screen. On this screen, enter the name of your app. For this bot, I used the same name as my project.
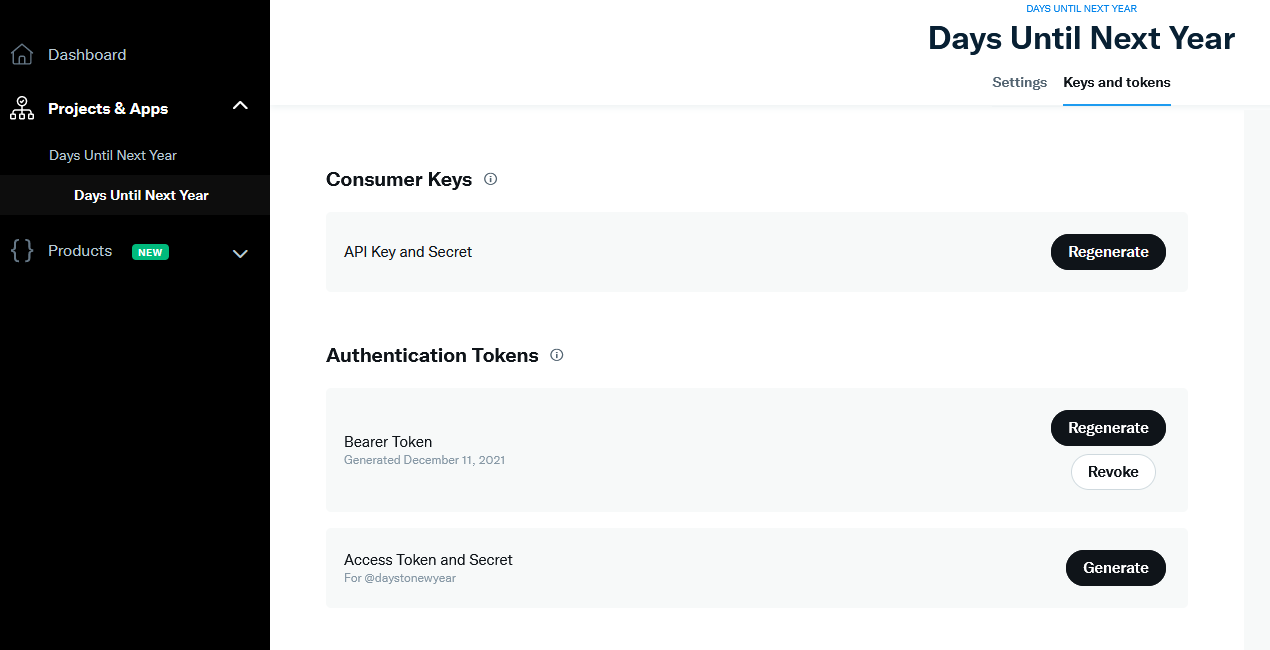
The next screen will show the app's API key and secret. Copy these keys for later. You can also regenerate these in the app settings if you lose them. Next, go to the app settings and update the app permissions to be "Read and Write" to allow your bot to create tweets.

Lastly, go to the app's "Keys and tokens" tab. On this tab, you will need to generate the access token and secret. If you did not copy the app keys from the earlier screen, you could regenerate them here under the "Consumer Keys" section.
Great! We have our Twitter app set up and have the keys we need. Next, we need to add these keys to our Parameter Store.
Adding Our Twitter Keys to Parameter Store
If you haven't used Parameter Store before, you can review what it is and how to use it by reading my "Passing Credentials to AWS Lambda Using Parameter Store" article.
To begin, log into your AWS console and go to the AWS System Manager.
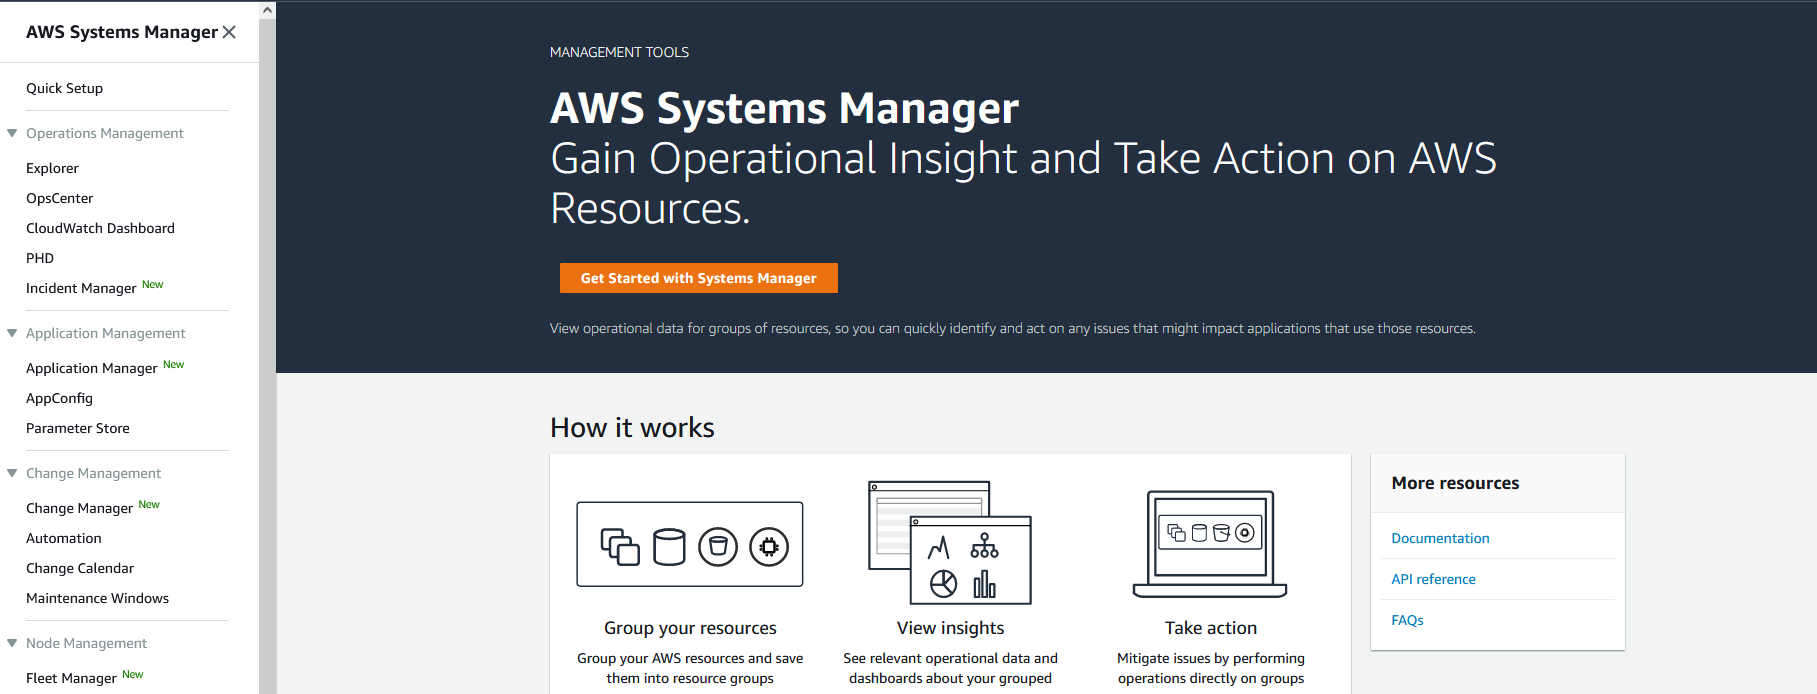
Click on the "Parameter Store" page from within the menu to get to your values. If you do not have any values yet, you will see a landing page. In here, you will want to create four different parameters. You can name these whatever you would like but make a note of which name you use for which secret as we will use the names to retrieve them.
For the Twitter secrets, I will name them twitter_api_key, twitter_api_secret, twitter_access_token, and twitter_access_secret.
For each of these, you can use the "Standard" tier. You will also want to use the "SecureString" type to keep these encrypted. Keep the defaults for everything else.
Lastly, enter the value for the parameter.
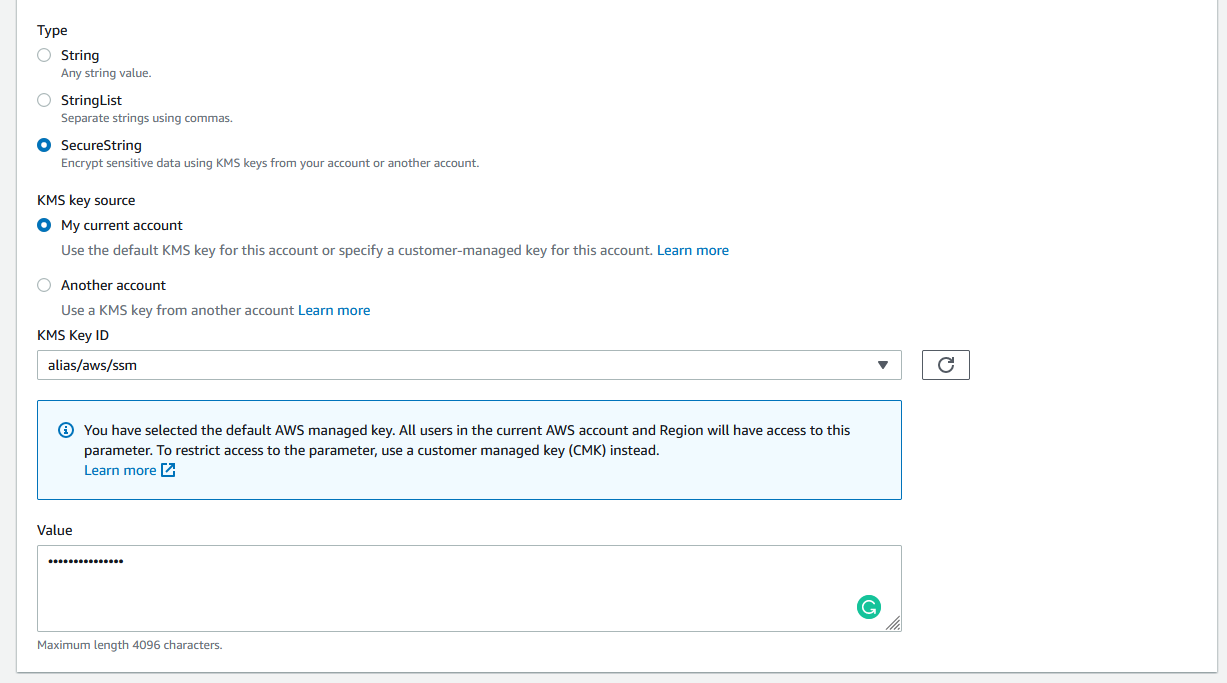
Once filled in, click to create the parameter. Once you create all four parameters, it will look like this:

Great! We have generated our Twitter keys and stored them in a place we can use them.
Creating the Python Code
Now, let's create our Python code for the Lambda function. We will use the default filename of lambda_function.py, so we do not need to change any of the Lambda runtime settings.
While we could write all the code within one main function, I'll separate out two other functions to make it easier to test each piece locally as well as make it easier to add to it in the future.
To start, we can add our imports:
import boto3
import datetime
import tweepy
The boto3 package is the AWS SDK that will allow us to pull in parameters. The Tweepy package is a library that interacts with the Twitter API.
Next, we will define a get_twitter_keys function that will get the secrets from Parameter Store and return them. If we are only pulling one parameter, we can use the get_parameter method and store its response. However, we can use the get_parameters method to pull all four of the ones we need.
def get_twitter_keys() -> dict:
    """Retrieve secrets from Parameter Store."""
    # Create our SSM Client.
    aws_client = boto3.client('ssm')

    # Get our keys from Parameter Store.
    parameters = aws_client.get_parameters(
        Names=[
            'twitter_api_key',
            'twitter_api_secret',
            'twitter_access_token',
            'twitter_access_secret'
        ],
        WithDecryption=True
    )

    # Convert list of parameters into simpler dict.
    keys = {}
    for parameter in parameters['Parameters']:
        keys[parameter['Name']] = parameter['Value']

    return keys
Next, we will define our get_tweet method, which will create the text. To do this, we will calculate the days until the next year and then customize the text based on the number of days.
def get_tweet() -> str:
    """Creates our tweet."""

    # Calculate days until new year's day.
    next_year = datetime.datetime.now().year + 1
    new_year = datetime.datetime(next_year, 1, 1, 0, 0, 0)
    today = datetime.datetime.combine(datetime.date.today(), datetime.datetime.min.time())
    days_left = (new_year - today).days

    # Customize text based on the number of days until the new year.
    if days_left == 1:
        tweet = "Tomorrow is New Year's Day!"
    elif today.month == 1 and today.day == 1:
        tweet = f'Happy New Year!! Welcome to {today.year}! Only {days_left} until next year.'
    else:
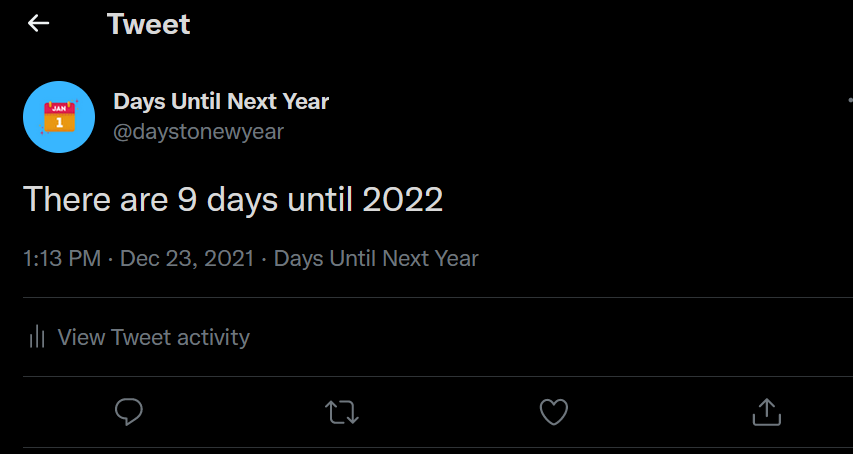
        tweet = f'There are {days_left} days until {next_year}'

    return tweet
Lastly, we will create our lambda_handler method, which is what we will have our Lambda function call. This method will call our two methods above and create our new tweet.
def lambda_handler(event, context):
    """Main Lambda function."""

    keys = get_twitter_keys()

    client = tweepy.Client(
        consumer_key=keys.get('twitter_api_key'),
        consumer_secret=keys.get('twitter_api_secret'),
        access_token=keys.get('twitter_access_token'),
        access_token_secret=keys.get('twitter_access_secret')
    )

    tweet = get_tweet()
    client.create_tweet(text=tweet)
Creating Our Lambda Function
If you haven't used AWS Lambda before, you can review what it is and how to use it by reading my "How To Create Your First Python AWS Lambda Function" article.
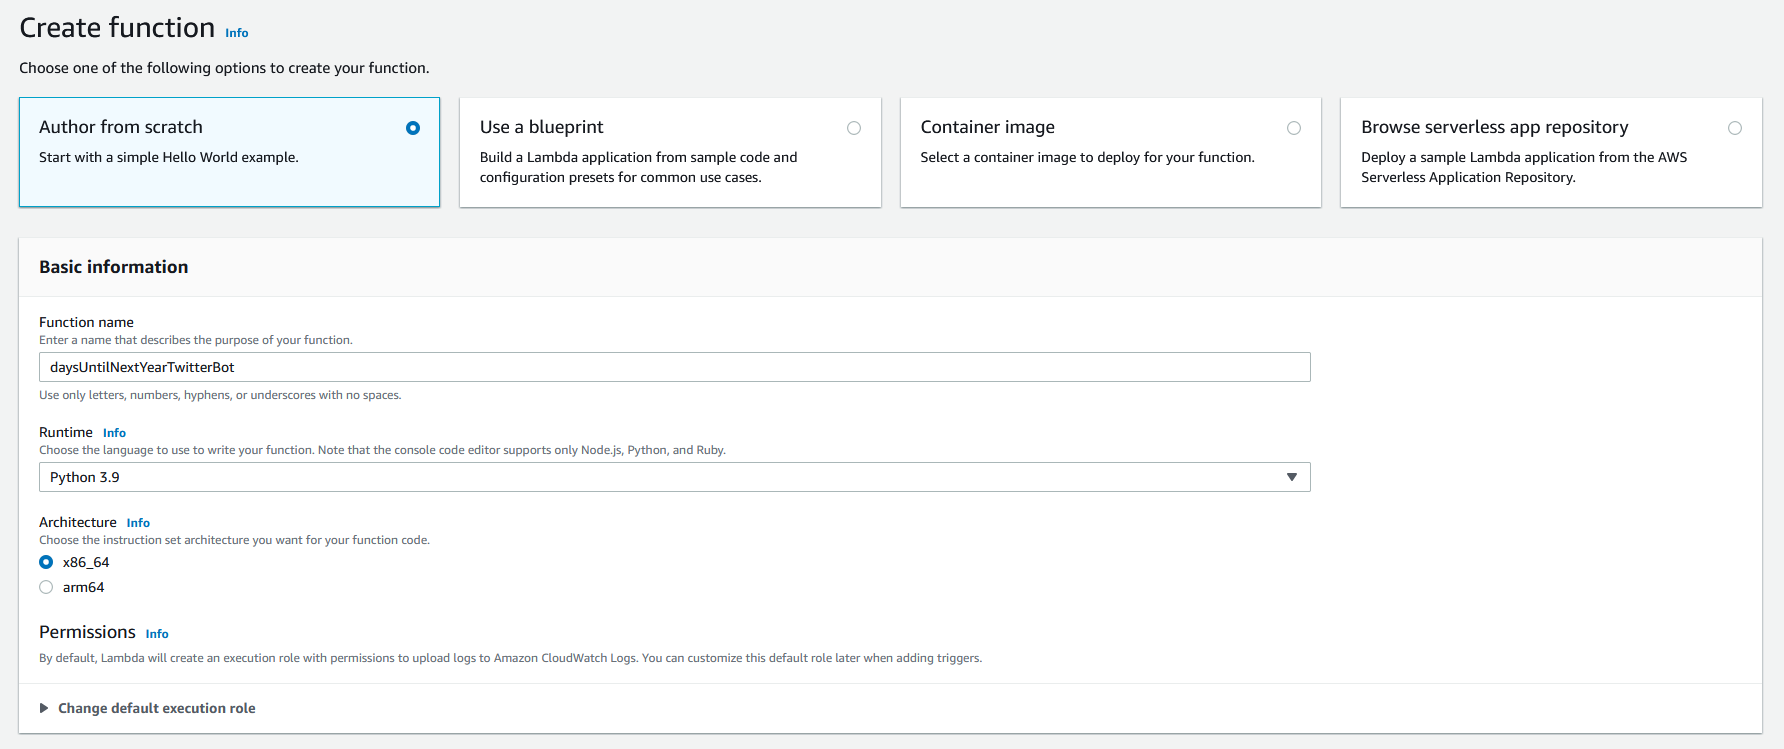
To get started, you will need to sign in to your AWS account and go to AWS Lambda. Once there, click to create a new function.
For this function, I'll name it daysUntilNextYearTwitterBot and use Python 3.9. We can leave everything else as the defaults.
Adding SSM Permission
For this Lambda function, we are going to attach the permission needed to the Lambda function's role.
There are many ways we can do this. If you were creating many Lambda functions or are using a much larger set of AWS systems, you might create specific roles to use across Lambda functions. However, for this simple bot, we will just attach the right policy directly to this Lambda function.
To do so, go to the "Configuration" tab on the Lambda and select "Permissions" from the sidebar.

Within the "Execution role" panel, click on the role name to open up that role in IAM.
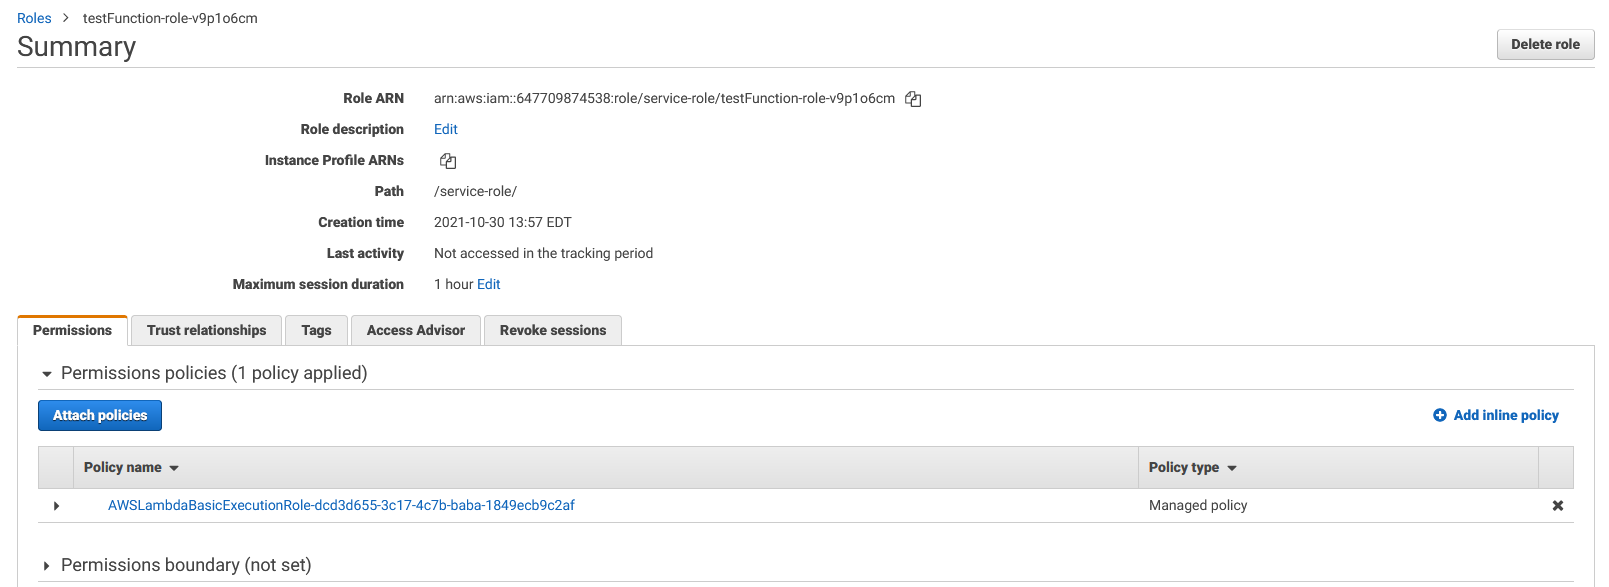
Click the "Attach policies" button. On the add permissions screen, search for the "AmazonSSMReadOnlyAccess" permission. This will allow your Lambda function to read from Systems Manager.

Check the checkbox for the "AmazonSSMReadOnlyAccess" permission and then click "Attach policy."
Now, go back to the configuration screen for the Lambda function (or refresh it if you kept it open). You should now see the "AWS Systems Manager" listed in the resource summary dropdown. If you select it, you should see the actions list "Allow: ssm:Get*" with other permissions. We are now ready to add our code.

We are now ready to add our code.
Uploading the Python Code
Since we are using a 3rd party package, Tweepy, we need to take an additional step beyond just copying our Python code into the Lambda editor.
There are several ways we could deploy this code. Since our code is small and we want to keep this simple, we will create a zip file and then upload it inside the Lambda editor.
To get started, we have to install the Python packages into a local directory. If you are creating this code within a virtual environment, you can run pip freeze > requirements.txt to generate a file we can install the packages from.
Note: The Lambda environment already includes boto3, so you do not need to add that into the requirements file.
This will look sort of like this:
certifi==2021.10.8
charset-normalizer==2.0.9
idna==3.3
oauthlib==3.1.1
requests==2.26.0
requests-oauthlib==1.3.0
tweepy==4.4.0
urllib3==1.26.7
From here, I will install these packages into a directory called "packages" by using this command:
pip install -t packages -r requirements.txt
Next, we want to zip up all of our project files. However, we need both our Python file and the packages to be at the base level.
To do this in Linux/Unix:
cd packageszip -r ../deployment.zip .cd ..zip -g deployment.zip lambda_function.py
If you are using Windows:
- Copy all the folders within your
packagesfolder and paste them next to your lambda_function.py - Delete the
packagesfolder. - Zip all the files and folders into a
deployment.zipfile (not including hidden or config files, such as.git,.venv, or.gitignore).
Now, go into our Lambda function and select the "Upload from" drop-down on the far right of the code editor and choose ".zip file."

Select your deployment.zip file from the selector.
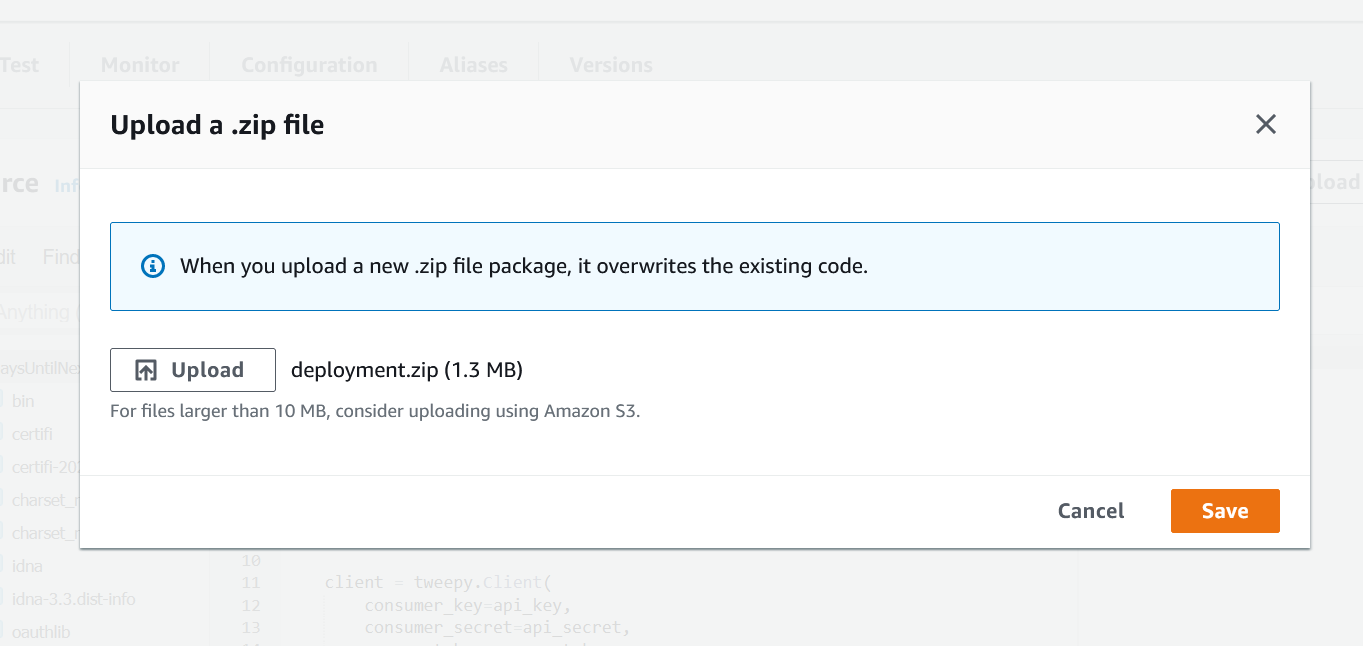
Click the "save" button. A few seconds later, you should see your code appear in the code editor.
Now, switch to the "Test" tab and click the "Test" near the top right. The code will run, and you should see an "Execution result: succeeded" alert appear.

And, if we check our Twitter profile, we can see the new tweet was posted correctly!
Now, all that is left to do is to schedule this to run each day.
Scheduling the Lambda Function
If you haven't used Eventbridge before, you can review what it is and how to use it by reading my "Setting Up a Recurring AWS Lambda Function Using AWS EventBridge" article.
To get started, you will need to sign in to your AWS account and go to EventBridge. Once there, click to create a new rule.
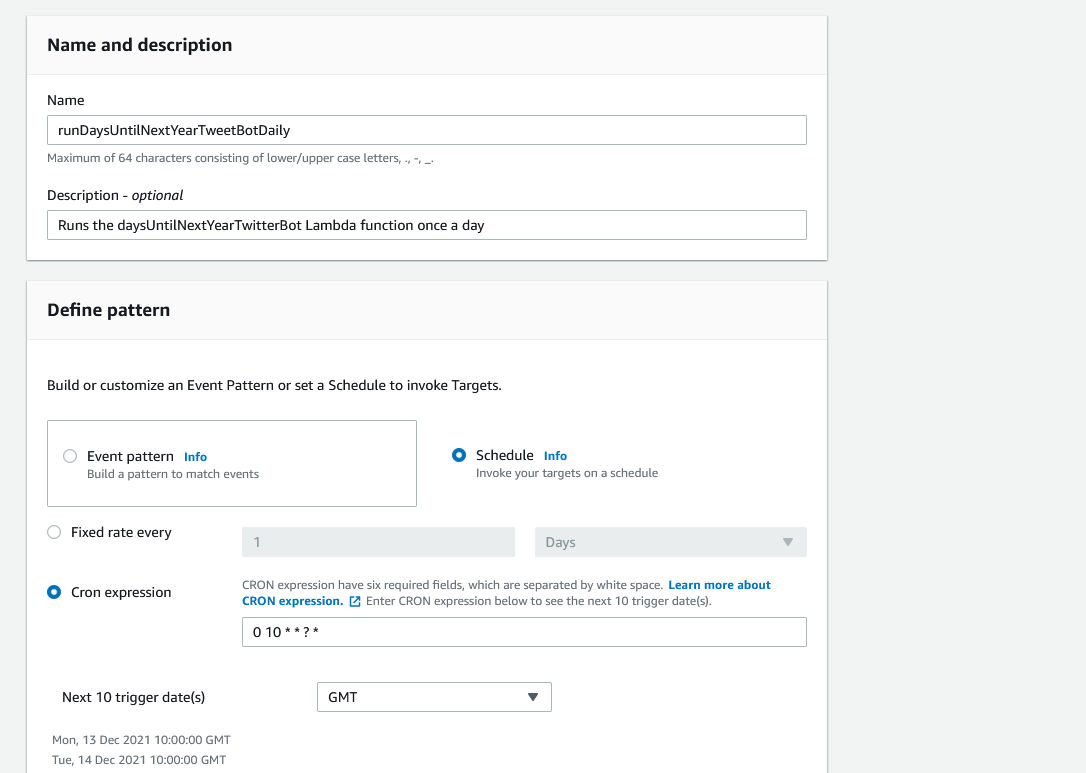
On the rule creation page, you will need to fill in a few fields. First, enter in a name. I recommend something that includes what it does and how often. For example, something such as "runDaysUntilNextYearTweetBotDaily". Next, fill in a description.
In the "Define pattern" section, click on "Schedule." For this function, I am going to use a cron expression to run it every day at 10:00 AM.
We will leave the event bus section as the default for this.
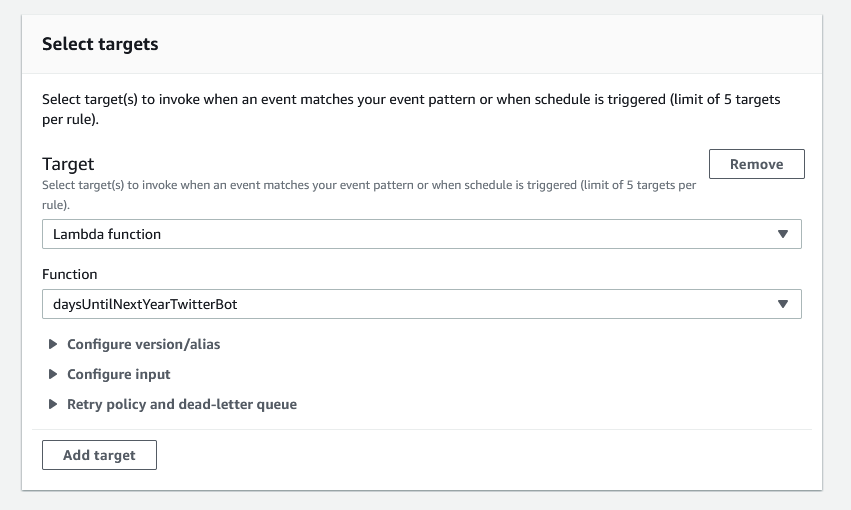
In the "Select targets" section, select "Lambda function" for the target and then choose your Lambda function in the "Function" dropdown. For most functions, you will keep the default settings for the function here.
If you have a lot of rules, you can set up some tags to organize them. I'll skip that here.
Lastly, click the "Create" button.
Great job! Your Lambda is now set on a recurring schedule.
Next Steps
Our Twitter bot is now fully set up and automated. Now, each day, EventBridge will trigger the Lambda function, which will run the Python code which will send out our tweet.
If you want to expand on this, some things you can try include:
- Update the
get_tweetfunction to have a few variations of the daily tweet that the method will randomly choose from. - Create a list of holidays and, if that day is a holiday, include what holiday that day is in the tweet. You can take this a step further by finding a larger dataset of holidays to add a CSV or a holidays API to pull from.
Similar Articles
Passing Credentials to AWS Lambda Using Parameter Store
Need to pass credentials or secrets to your Python Lambda functions?
How To Create Your First Python AWS Lambda Function
Just getting started with AWS Lambda? Learn how to set up your first Python Lambda function.