Setting Up Pelican Static Site Generator
This post is part of my Setting Up A Pelican Site series:
I have been hearing about static site generators for a while but haven't really had a use for one yet. So, when I decided to start this new site, I knew I wanted to try one out.
However, I quickly realized there are a dozen good ones and then countless others beyond those. Most of my recent development experience has been with Python and Vue, so I was able to narrow it down to either ones that use Python or ones that use JavaScript.
From there, since I have no experience with React, I narrowed down further to VuePress on the JavaScript side or Pelican or Nikola on the Python side. After experimenting with each of them, I decided to go with Pelican for now.
What is Pelican?
Pelican is a static-site generator that has been around since 2010 and allows one to create content in Markdown or reStructuredText. It is written in Python and utilizes Jinja templates for parsing and creating the final HTML pages.
Setting Up a Pelican Site
To get started with Pelican, you will need to ensure that it is installed locally. Since I preferred creating content within Markdown, Pelican recommended this command:
pip install pelican[Markdown]
From there, you can go to the directory you are setting up in and use this command to get a skeleton site set up:
pelican-quickstart
This command will trigger a series of questions in the terminal to set up your site. For now, you can keep most of the defaults.
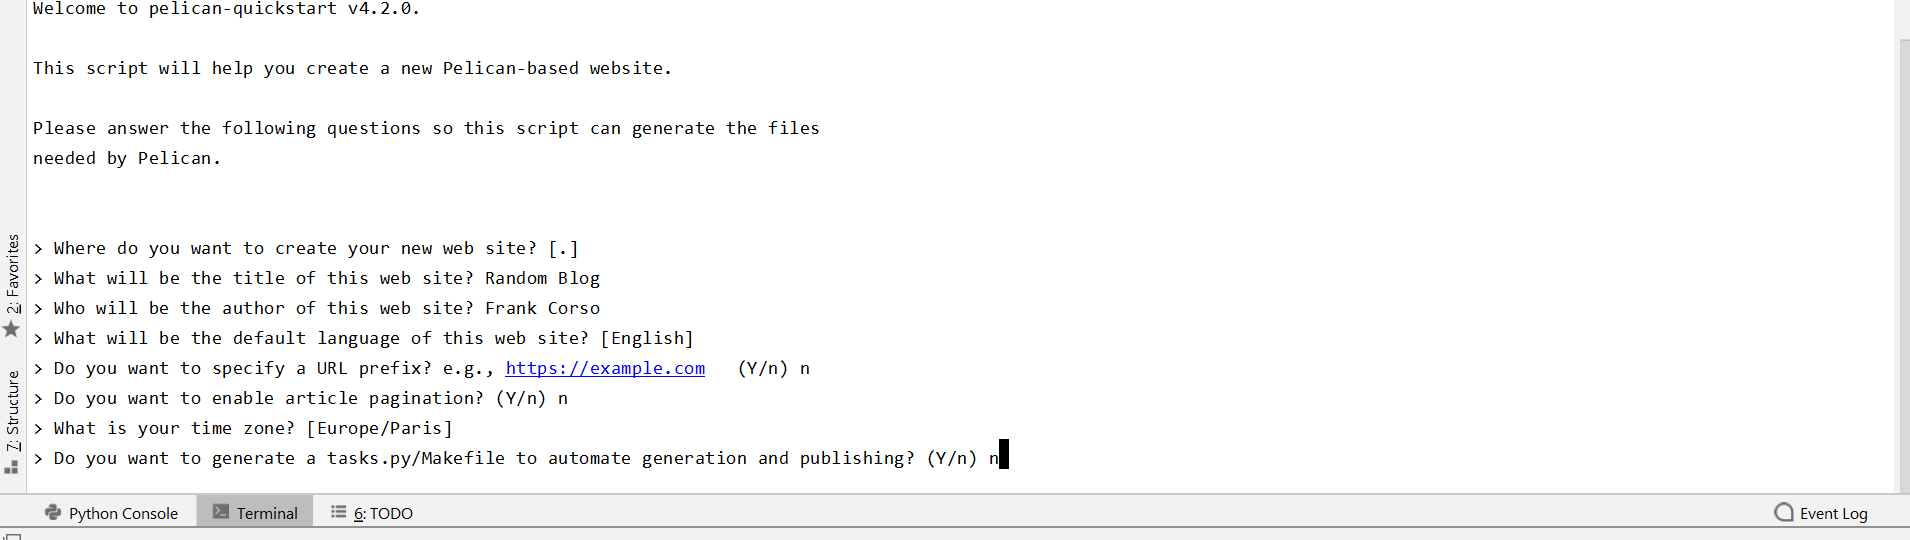
Once you have finished answering the questions, you will see two new folders and two files.
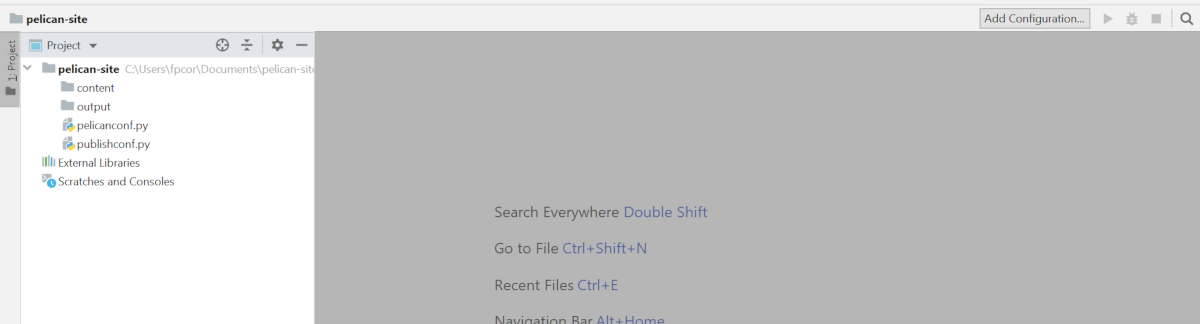
The content directory is where you will create your posts and pages. The output directory is where the site will be generated to.
The pelicanconf.py and publishconf.py files are where you can customize the settings and values Pelican uses to create your site. Most of the settings will be in the pelicanconf.py file. For example, within pelicanconf.py, you will be able to edit the values you entered during the quickstart.
The publishconf.py imports the settings from pelicanconf.py and can overwrite some settings as well as set new settings. This way, you can use pelicanconf.py for development and publishconf.py for production. For example, you may disable feed generation in pelicanconf.py to speed up development builds and then have them enabled in publishconf.py.

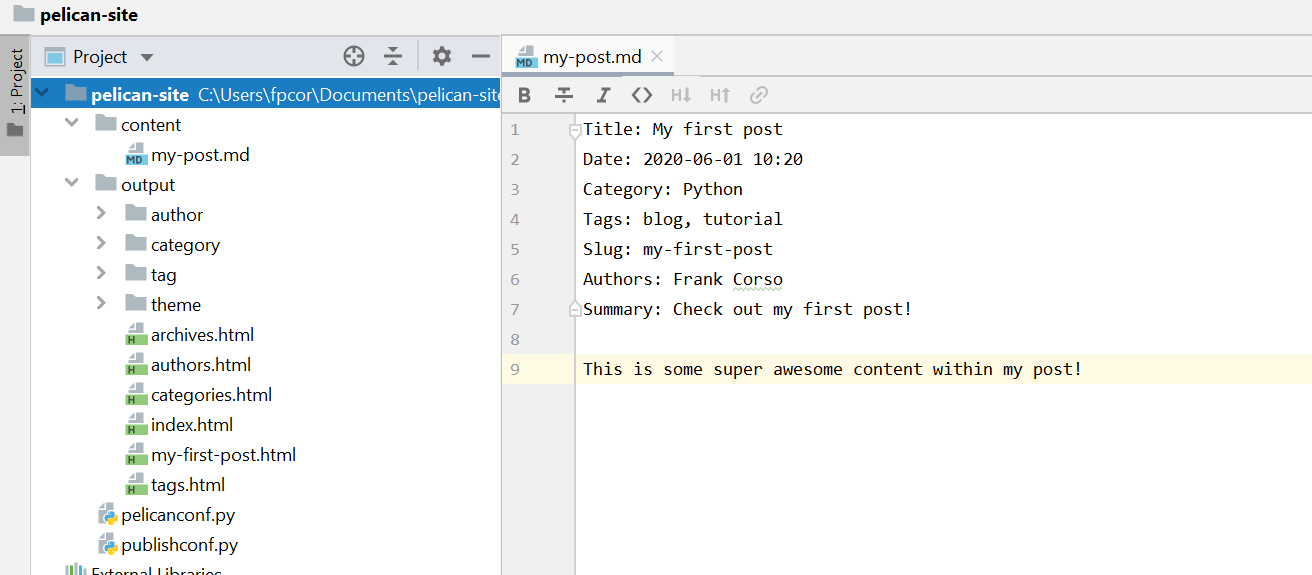
Before you can see your new site, you need to create your first article. Go into the content directory and create a Markdown file. I'll call mine my-post.md.
Inside your content Markdown files, you will use a series of key and value pairs in the header to set up your content. Underneath, you will add your content.
Title: My first post
Date: 2020-06-01 10:20
Category: Python
Tags: blog, tutorial
Slug: my-first-post
Authors: Frank Corso
Summary: Check out my first post!
Status: published

This is some super awesome content within my post!
The tags and categories will automatically be parsed and archive pages for each will be created. The Status allows you to pass draft to it prevent this post from appearing on the site. Instead, drafts are put into a drafts directory that you can access to see how it would look.
In addition to this first post, we can create our first page. By default, Pelican will look for the pages directory inside content for any pages and automatically add them to the site's main navigation. I'll create an about.md file to set up a basic about page.
Title: About Me
Date: 2020-05-27 10:20
Slug: about
Authors: Frank Corso

Hey there! My name is Frank Corso and it's nice to meet you.
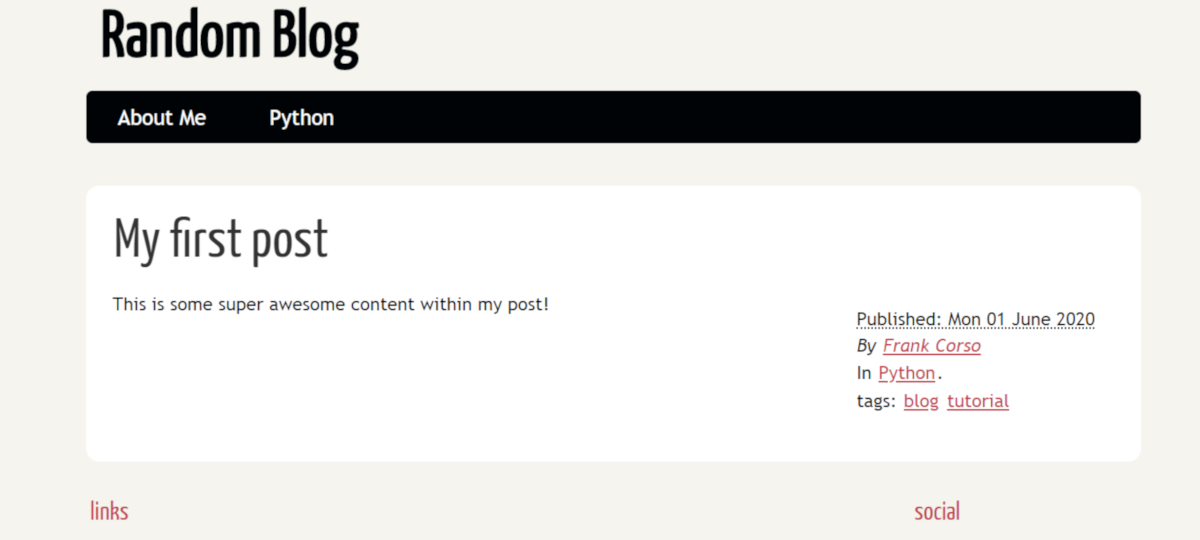
Once you have your Markdown files created, let's use pelican content to generate our content. By default, Pelican will use the built-in "simple" theme to generate your content and then place the HTML files into the output directory.
Once our content is created, we can use pelican --listen to set up a simple server so we can see our new content. By default, this will be at http://localhost:8000/.
When you go to publish the site, if you are using the publishconf.py (or another file) for production settings, you would use pelican content -s publishconf.py to use that file's settings.
Next Steps
You now have your basic site! You can now add more articles and more pages. The next big step will be to research either downloading or creating a theme. I found a Pelican Themes site which displays screenshots for a lot of pelican themes and links to GitHub repositories.
Alternatively, you can create your own following the Pelican documentation.
Once you have theme files ready, you can add THEME = 'THEMEDIRECTORY' to the pelicanconf.py file to use your new theme instead of the default theme.
Once you have your site created, you will need somewhere to host it. Check out my other article on deploying pelican sites to Netlify.
Now, get creating!
Similar Articles
Deploying Your Pelican Static Site To Netlify
Ready to deploy your static site built by Pelican? Learn how to deploy to Netlify!
Deploying a Static Site to Digital Ocean’s App Platform
Digital Ocean offers 3 free static sites on their app platform. If you're looking to deploy a static site using their app platform, read this article to learn how.